Hi, everyone!
I'm going to create a tutorial using a palette I got
for Amber :) It's called TheBalm Balmbini Babies of TheBalm Face
Palette! Crazy name, right?
And Here it is!

Sorry for such a picture heavy post, but I want it to be as easy to understand as possible.
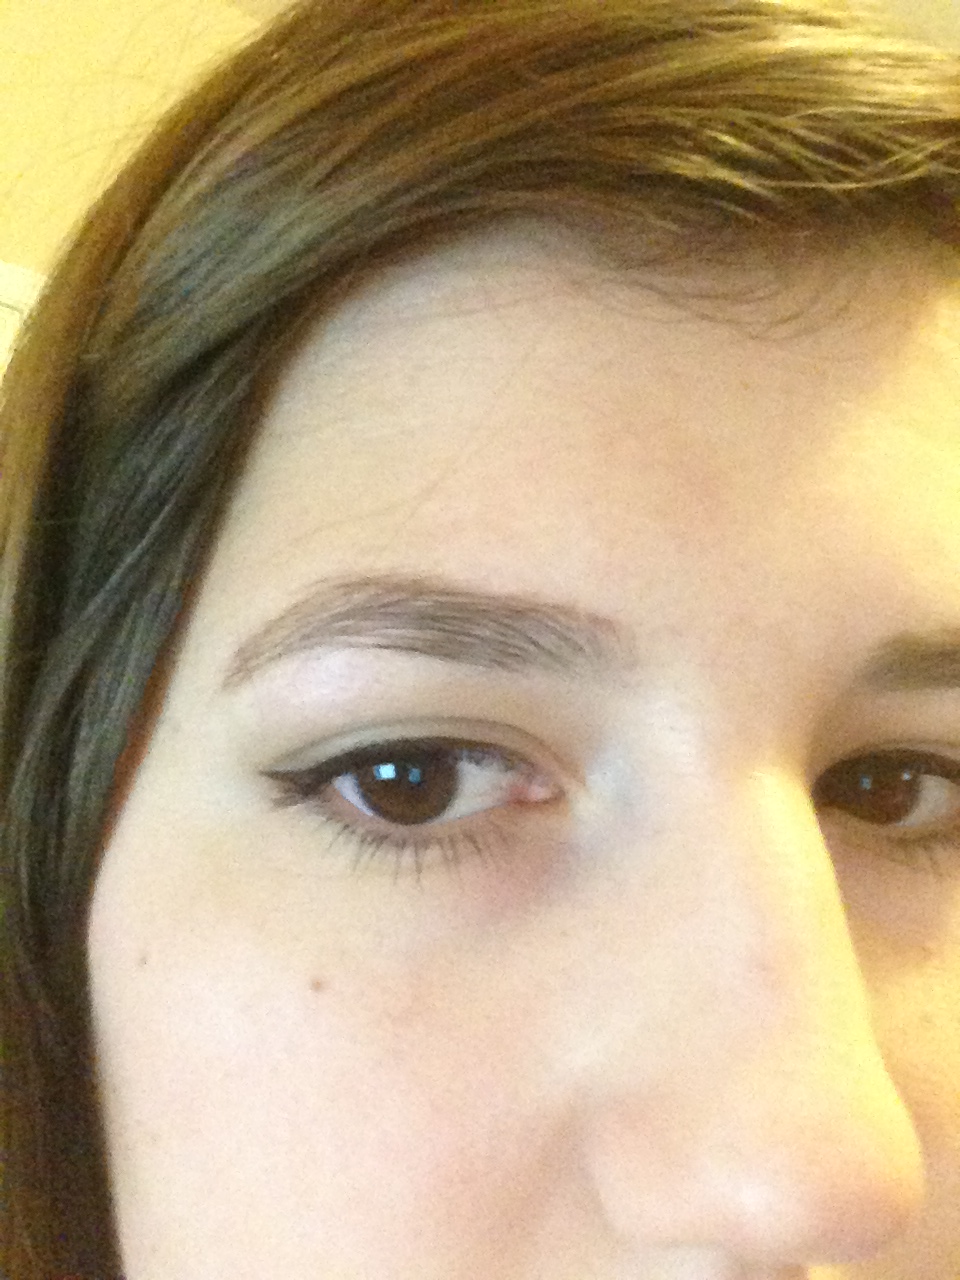
Foundation, bronzer, blush and eyebrows done!

Prime
the eyes (I like this step because my eyeshadow creases in an hour) and
then lightly brush a light matte eyeshadow over the entire area, any
skin toned eyeshadow works.

I put Insane Jane all over my lid and in my crease with my angled eyeshadow brush. (Urban Decay Mushroom is very similar)

Using
the Same brush, apply a darker shadow of your choice to darken the
crease and outer edge of the lid, I used Jealous Jordana here. Remember
to start light and gradually add more, it can get really dark, really
quick.

And then blend out with a clean brush.

Take a small pencil brush or any kind of precision brush and apply the darker shadow along your bottom lash line.

Then
take a small brush (or your finger, like I did) and apply a small
amount of a highlighter to the inner corner of your eye. This will help
brighten up darker looks.

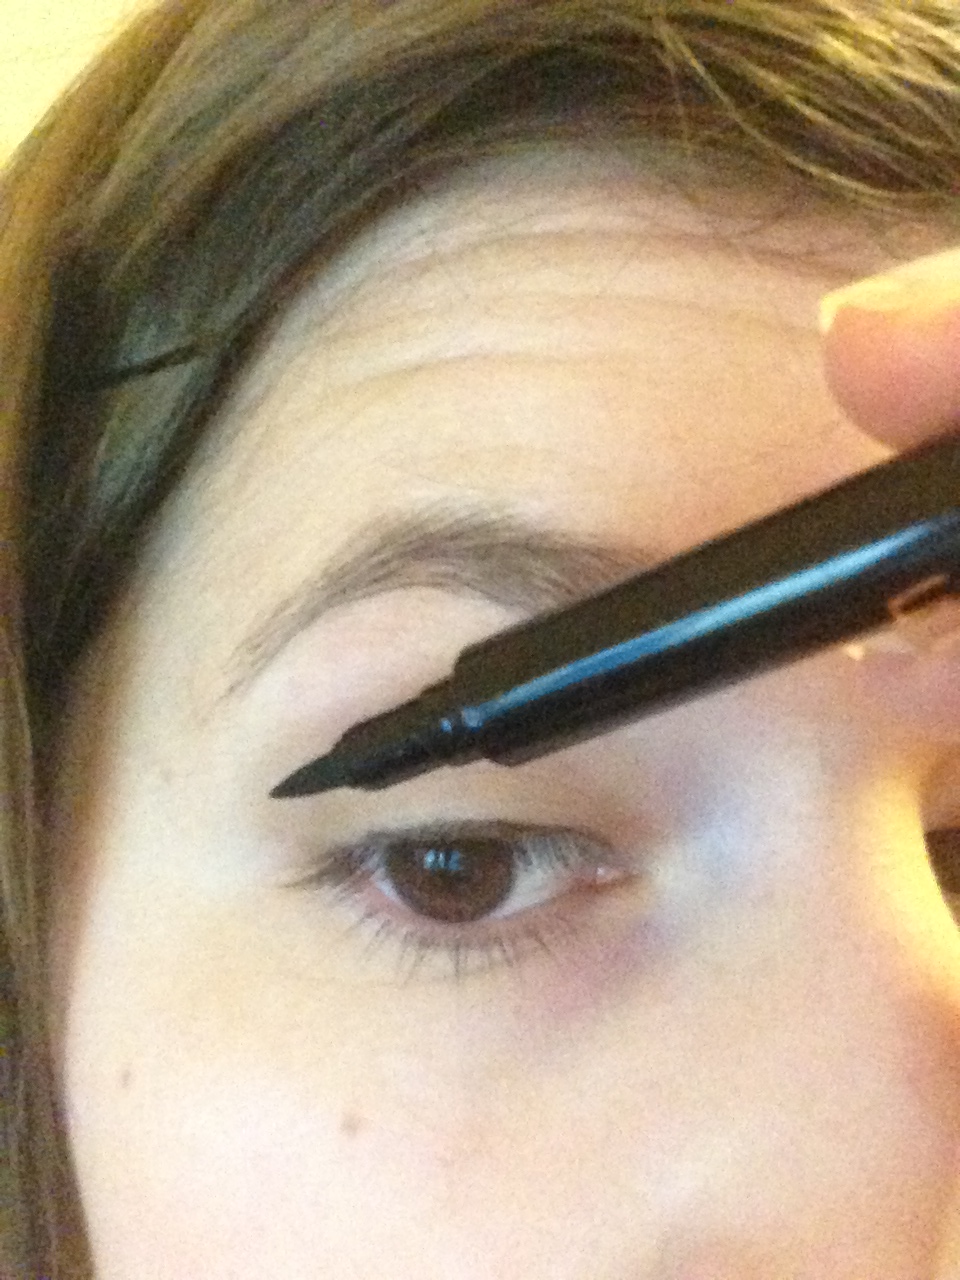
Line
your top lash line as close as possible to the lashes, thinner is good
for people who don't have much lid space to start with. Then line up the
curve of your bottom lash line to the end of your eyebrow.

Draw your wing, and then...

Fill it in.

Tight line with a good quality eyeliner, if you have sensitive eyes you might want to skip this step.

Curl your lashes and apply mascara and you're done!

Apply favorite lipstick and remember to smile! :)

Thanks for Looking at my little tutorial!
~Kylie~
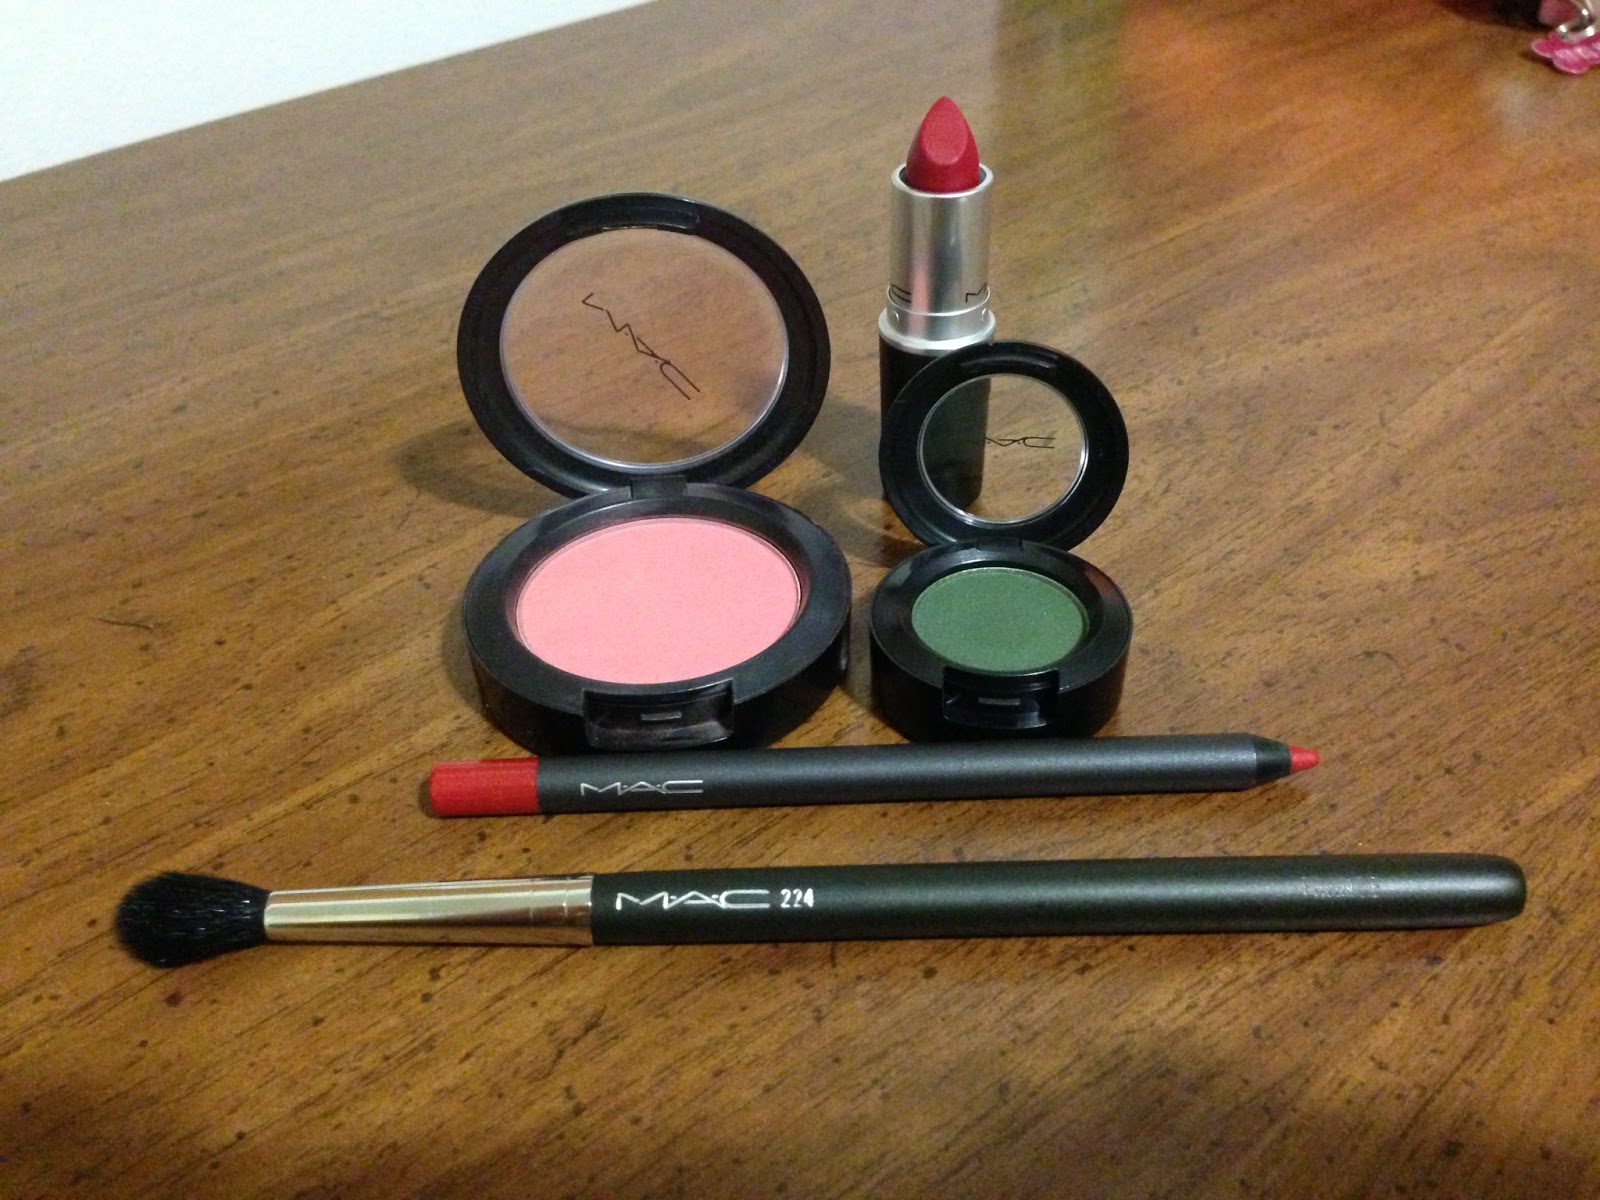
Products Used:
Estee Lauder Equalizer foundation in Ivory
Sleek Contour Kit in Light
TheBalm blush in Hot Mama
Urban Decay Brow Box in Beige Betty
Urban Decay Primer Potion
Urban Decay W.O.S (Naked Basics Palette)
The Balm Insane Jane shadow
TheBalm Jealous Jordana shadow
TheBalm Mary-Lou Manizer
Jordana Fabuliner (3 dollars, craaazy <3)
Urban Decay 24/7 eyeliner in Zero (for tight lining)
Maybelline The Falsies mascara
Mac lipstick in Sunny Seoul
Ecotools brushes


.jpeg)